
Initialize Google Analytics for your Google Account
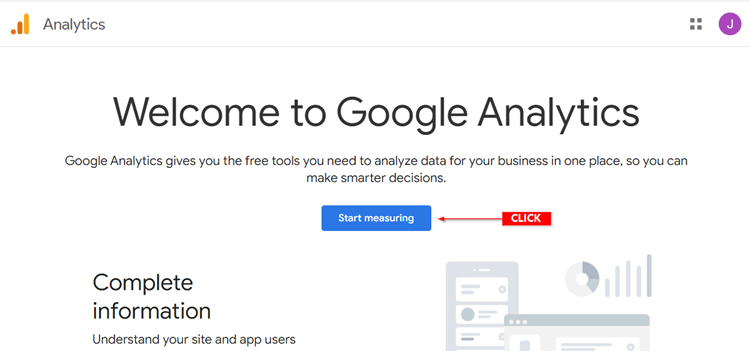
Go to https://analytics.google.com/
Click on the Start measuring button.
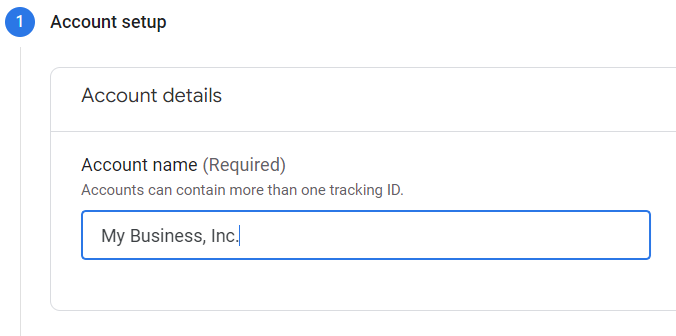
Provide a name for your Analytics account. We recommend using the name of your business.

Data Sharing
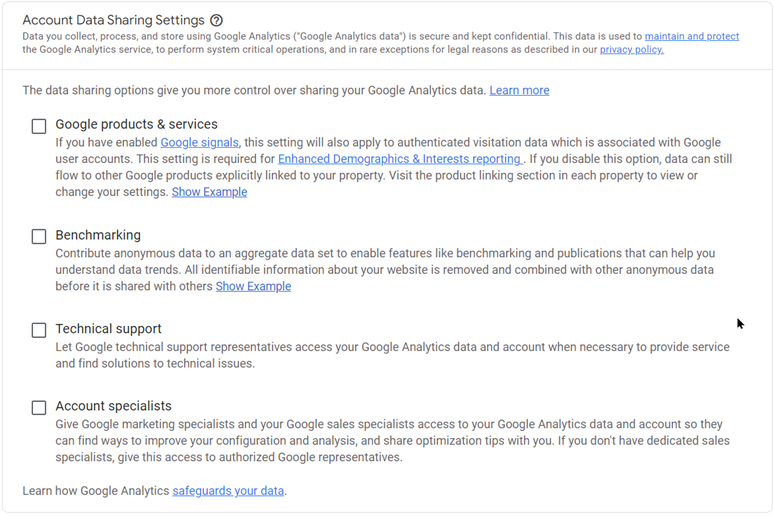
Scroll down and you will see your account’s data sharing settings. We recommend unchecking all of these.
Click the Next button
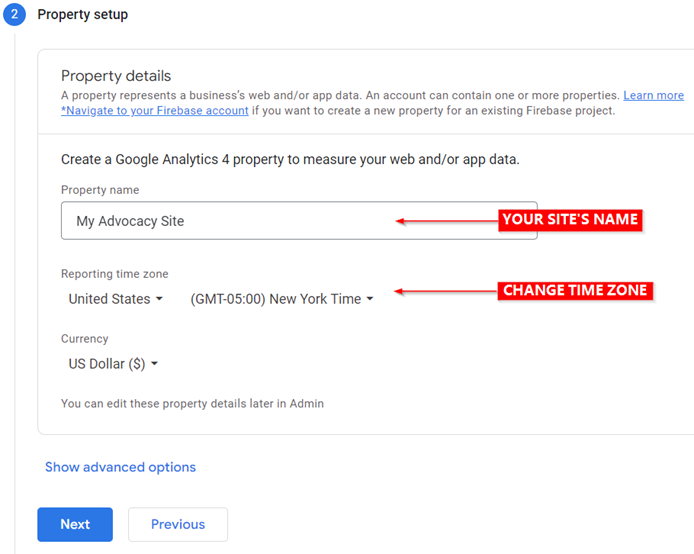
A new section will expand. Provide the name of your website in the Property name field and be sure to change the time zone setting accordingly.
Click the Next button.

Business Information
A third section expands where you can provide information regarding your business. We have no recommendation here, but you can ignore this section and click the Create button to proceed.
A popup will appear asking you to accept Google Analytics’ terms of service. Click the I Accept button to proceed.
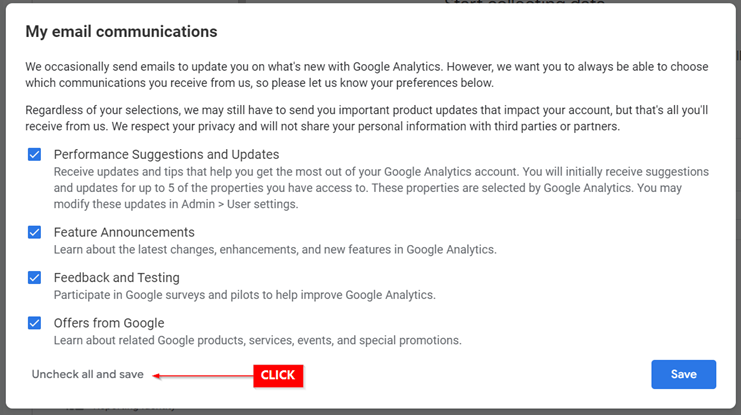
Another popup appears where you can set your email communication preferences. We recommend you click the Uncheck all and save button on this popup to proceed.
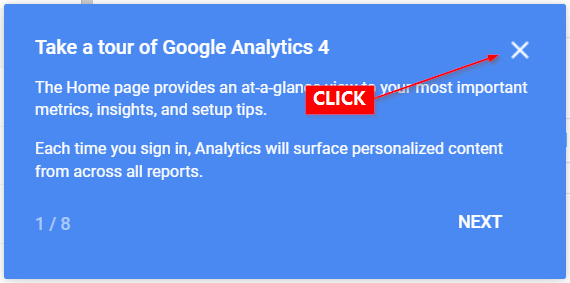
You can close the product tour popup, as well.

Set Up Tracking for Your Site
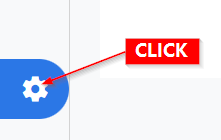
Go to the admin dashboard by clicking on the gear icon in the bottom left corner of your screen.
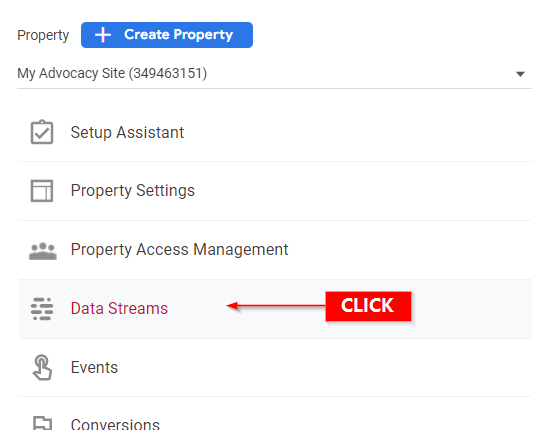
The left column of the dashboard shows you information about your Account, the second column contains options that control your individual web properties. Click on the Data Streams option.
On the next screen click on the Web platform option.

Stream Name
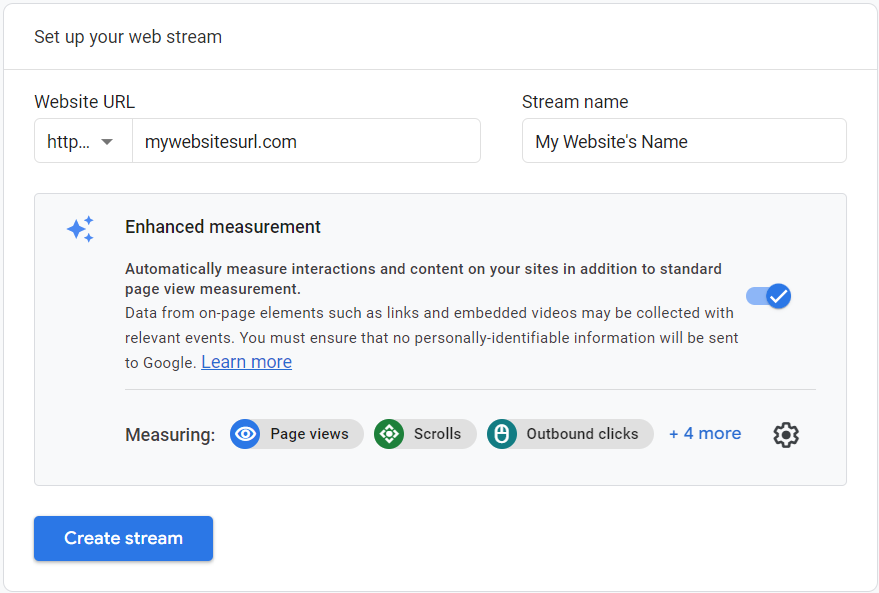
Provide the URL of your site without the https:// part in the Website URL field and provide the name of your site in the Stream name field.
Click the Create stream button.
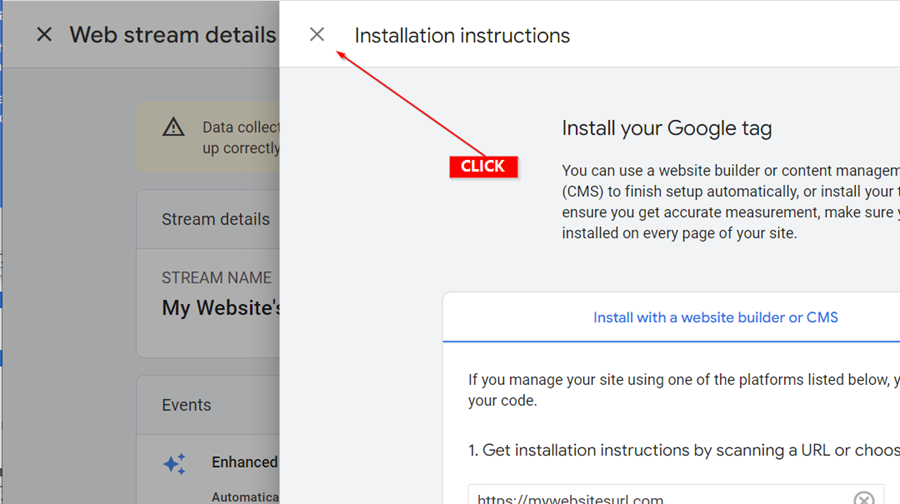
Google will then generate the details necessary to configure tracking on your website. You may be shown an Installation instructions slide like the one shown below. These instructions do not apply in our case.
On the Web stream details slide click on the copy icon to copy your site’s Measurement ID. Keep this value handy.

